30 Day Watercolor Challenge
Master Watercolor in 30 Days: A Mini-Painting Challenge for Busy Artists
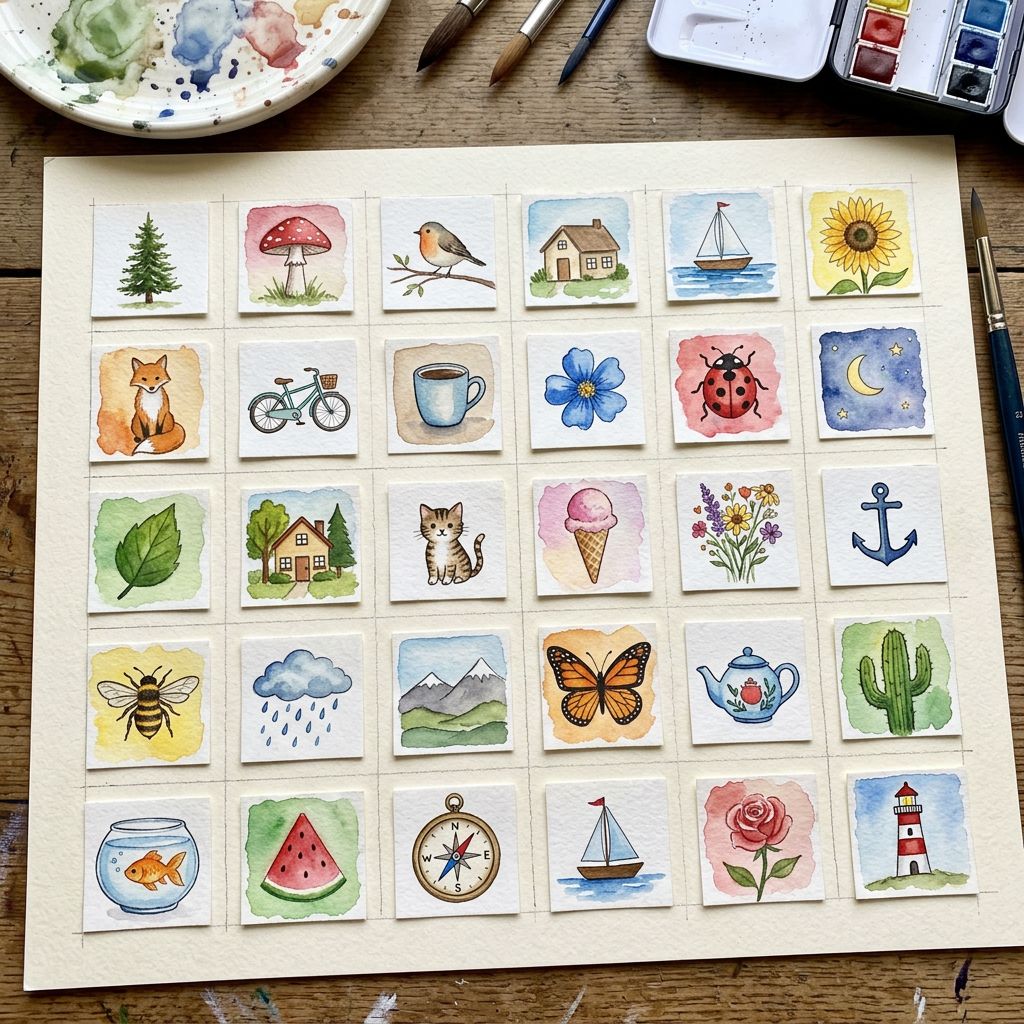
Watercolor is often feared for its unpredictability, but that same fluidity makes it the perfect medium for rapid, intuitive creation. The biggest barrier to entry for many artists is the intimidation factor of a large, blank sheet of paper. By shrinking your canvas to just 3 inches by 3 inches, you remove the pressure to create a masterpiece. Instead, you create a space to play, experiment, and build muscle memory.
This 30-day challenge is designed to take less than 20 minutes a day. Whether you are a complete beginner or a seasoned painter looking to refresh your skills, these mini-paintings will help you master color blending, edge control, and composition without the stress.
The 3x3 Rule: Why Size Matters
A 3x3 inch square is small enough to paint at your desk during a lunch break, or even while waiting for a train. The small scale forces you to focus on the essentials:
- Confidence: You cannot second-guess a small painting for long.
- Speed: You learn to finish quickly, preventing muddy, overworked washes.
- Collection: By the end of the month, you will have a portfolio of 30 distinct studies.
The 30-Day Mini Watercolor Plan
Here is a curated list of daily prompts. They are categorized by difficulty, moving from basic technique drills to creative observational challenges. Feel free to skip ahead or revisit a prompt if you need more practice.
Week 1: Building Confidence & Basic Techniques
The goal of the first week is to get comfortable with wet-on-wet and wet-on-dry techniques.
- Sunset Gradient: Paint a smooth blend from purple to orange to yellow. Focus on keeping the edges soft.
- Blue Sky & White Clouds: Paint a wet blue wash and drop in a few drops of clean water with a dropper to push the pigment aside and create clouds.
- Green Monochromes: Create five distinct green squares using just one blue and one yellow. Try to make them look like pine, lime, olive, mint, and forest.
- Simple Branches: Using a dry brush and dark brown or black, paint a simple tree branch reaching across the corner of the paper.
- Red Rose: Paint a simple, loose red circle. Add a few darker strokes in the center to define the petal structure.
- Blueberries: Paint three overlapping blue circles. Use a darker shade to create shadows where they overlap.
- Review: Look back at your first six paintings. Pick your favorite and trace it on a fresh 3x3 square to refine your technique.
Week 2: Texture and Contrast
Now that you are comfortable with the flow, introduce texture and contrasting elements.
- Rainy Window: Paint a blue-gray background. While wet, drop in darker gray streaks to simulate rain on glass.
- Coastal Scene: Paint a horizon line. Keep the top half light blue (sky) and the bottom half deep navy (water).
- Bird in Flight: A simple V-shape or silhouette of a bird against a pale yellow sky.
- Orange Slice: An orange circle with a darker orange wedge removed. Add a tiny white highlight.
- Night Sky: A dark indigo or black background. Use a stiff brush to flick white paint upward to create stars.
- Coffee Cup: A simple white cup with a dark coffee stain or shadow on the right side.
- Review: Compare your texture experiments. Which technique felt most natural?
Week 3: Creating Depth and Perspective
Week three shifts the focus to spatial awareness. By manipulating color intensity, line weight, and overlapping, you will learn to create the illusion of a third dimension on a flat surface.
- Distant Mountain: Paint a mountain shape near the top edge using a cool, pale blue-gray. Because of atmospheric perspective, distant objects are lighter and less distinct.
- Foreground Fence: Draw a simple picket fence along the bottom edge using dark brown or black. The high contrast and sharp lines will place this object closest to the viewer.
- Pathway to Nowhere: Start a path at the bottom center that widens as it moves upward, then narrows again as it approaches the middle. Use earthy tones to guide the eye into the distance.
- Tunnel Vision: Paint a dark archway framing the entire square. Use the edges of the paper as the boundaries for the arch to create a strong sense of enclosure.
- Overlapping Trees: Place a large, dark tree trunk on the left side, and a smaller, lighter tree behind it on the right. Overlapping is the simplest way to establish foreground and background.
- Window View: Outline a simple window pane in the center. Paint a vibrant scene outside the lines, ensuring the frame remains crisp and uncolored to represent the nearest plane.
- Reflection Review: Compare your depth experiments. Did the darker colors successfully pull elements forward, while lighter tones pushed others back?
Week 4: Abstract and Creative Expression
Break the rules. These prompts encourage experimentation with color theory and abstract forms.
- Color Explosion: Drop bright, saturated colors onto a wet piece of paper and watch them collide.
- Abstract Leaves: Paint loose, organic leaf shapes using only greens and browns.
- Bokeh Lights: Paint soft, out-of-focus circles of light in warm colors (yellow, pink, gold).
- Water Ripples: Concentric circles radiating from a central point, fading out toward the edges.
- Fire: A tall, jagged shape using red, orange, and yellow, blending seamlessly.
- Abstract Portrait: Two overlapping eyes or a simple nose and mouth using only shading.
- Grand Finale: Create a painting that combines your three favorite techniques from the month.
Essential Supplies for the Challenge
You do not need expensive equipment to succeed. In fact, simplicity often yields better results for beginners. Here are the basics:
- Paper: 140lb cold-pressed watercolor paper. Cut it into 3x3 inch squares and tape them down to a sturdy backing board so they don't warp.
- Paints: A small pan set of 6-12 colors (Cadmium Red, Ultramarine Blue, Yellow Ochre, and Burnt Sienna are versatile staples).
- Brushes: One round brush (size 8 or 10) is sufficient for almost all of these exercises.
- Palette: A simple white ceramic plate works perfectly as a mixing surface.
Tips for Success
Embrace Mistakes: Watercolor is unforgiving, but a "mistake" often leads to a unique texture. If you spill paint, turn it into a cloud or a flower.
Control Your Water: The biggest enemy of a crisp mini-painting is too much water. Wipe your brush on a towel before loading it with paint to ensure you have enough pigment but not too much liquid.
Work Light to Dark: Always paint your lightest colors (like sky and highlights) first. It is very difficult to lighten a dark area later.
Final Thoughts
Completing 30 small paintings in a month is a significant achievement. You will likely notice a marked improvement in your hand-eye coordination and your ability to mix colors intuitively. More importantly, you will have built a habit of making art, regardless of how busy life gets.
Start your first square today. Your future artistic self will thank you.
Frequently Asked Questions
Do I need to be an experienced artist to do this?
Absolutely not. This challenge is specifically designed for beginners because the small scale minimizes the pressure to be perfect.
What kind of paper should I use?
Use cold-pressed watercolor paper between 140lb and 300lb weight. Standard printer paper will buckle and tear when wet.
How long does each painting take?
Most of these exercises can be completed in 10 to 15 minutes, including drying time. Allow yourself 20 minutes total to avoid rushing.
Can I use regular tempera paint?
While you can use any water-soluble paint, traditional watercolor provides a transparency and flow that is essential for learning these specific techniques.
Please share your paintings in the comments.



0 comments